 Loading... Please wait...
- Home
- About Us
- Custom Orders
- Mazurka Pens News
- Customer Testimonials
- Types of Pens
- Our Canvas
-
FAQ
- Caring for Your Handmade Pen
- How to Clean Your Fountain Pen
- Metal Pen Component Plating
- Using a Rollerball Pen with a Ballpoint Ink Cartridge
- What Ink Refills are Compatible with Hauser bill 707 SF
- What Ink Refills are Compatible with Schneider Topball 850
- What Ink Refills are Compatible with Hauser Open Ceramic 777
-
Newsletter
- Design Possibilities with Polymer Clay
- Fountain Pen Nibs - The Basics
- Handmade Pens for Sale
- Handmade Pens and Writing Instruments Make a Statement
- Making a Selfish Case for Sustainable Wood
- My Favorite Types of Wood
- Non-Traditional Materials for Making Pens
- Pen Refills for Handcrafted Pens
- Redwood Trees - Coastal Redwoods of Northern California
- Rollerball Pens and Refills
- The Ballpoint Pen - What You Need to Know
- The Fountain Pen
- The Process of Making a Handmade Pen
- The Rollerball Pen
- The Wood Itself is Art
- Using Antler to Make Handmade Pens
- Why Choose a Handmade Gift?
- Corporate Gift Ideas
-
Pen Videos
- Preparing the Wooden Blank (Step 1)
- Drillings the Wooden Blanks (Step 2)
- Inserting the Metal Tubes (Step 3)
- Cleaning up Inserts (Step 4)
- Squaring Up the Wooden Blanks (Step 5)
- Assembling the Pen on Mandrel (Step 6)
- Rough Shaping Pen Blank (Step 7)
- Turning the Designer Pen Tenon (Step 8)
- Final Shaping of the Pen (Step 9)
- Sanding the Pen through Successive Grits (Step 10)
- Cross Sanding the Pen (Step 11)
- Removing Sanding Dust (Step 12)
- Applying Sanding Sealer (Step 13)
- Applying Finishing Paste (Step 14)
- Applying Liquid Polish (Step 15)
- Our Blog
- Shipping Options
Pen Videos
- Preparing the Wooden Blank (Step 1)
- Drillings the Wooden Blanks (Step 2)
- Inserting the Metal Tubes (Step 3)
- Cleaning up Inserts (Step 4)
- Squaring Up the Wooden Blanks (Step 5)
- Assembling the Pen on Mandrel (Step 6)
- Rough Shaping Pen Blank (Step 7)
- Turning the Designer Pen Tenon (Step 8)
- Final Shaping of the Pen (Step 9)
- Sanding the Pen through Successive Grits (Step 10)
- Cross Sanding the Pen (Step 11)
- Removing Sanding Dust (Step 12)
- Applying Sanding Sealer (Step 13)
- Applying Finishing Paste (Step 14)
- Applying Liquid Polish (Step 15)
Shop by Category
- Home
- Pen Videos
Pen Videos
If you would like to see an overview of the steps that we use in making our wooden pens, feel free to look at our videos. Each one shows a brief overview of how the individual steps are applied when making a wooden pen. The videos show a walnut wood pen being made with a friction finish, so some steps are not included which would apply to a pen being made with a high loss finish, or acrylic pen. Enjoy.
|
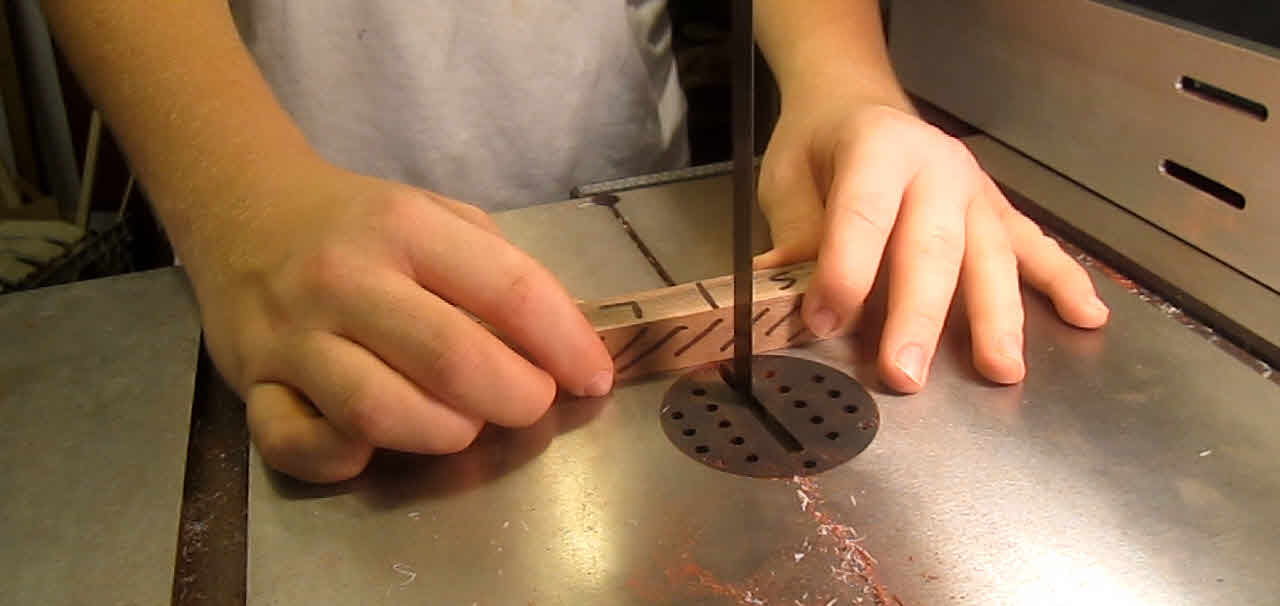
One of the first steps in creating a custom handcrafted wooden pen is to select the wood and cut the 'blank' to length. |
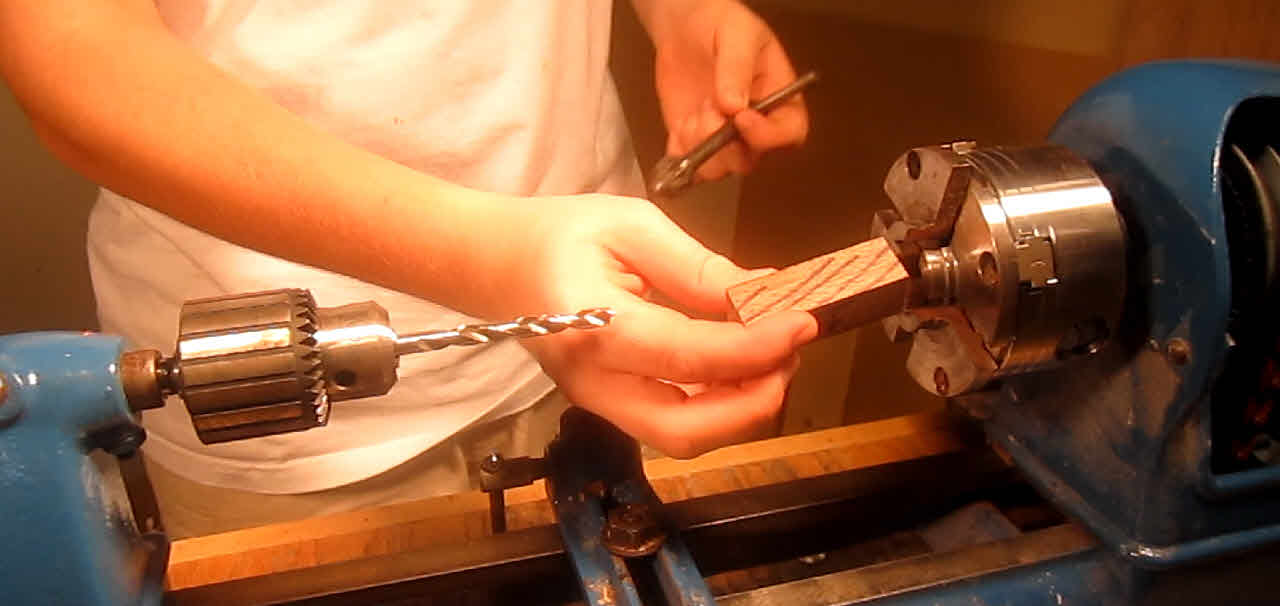
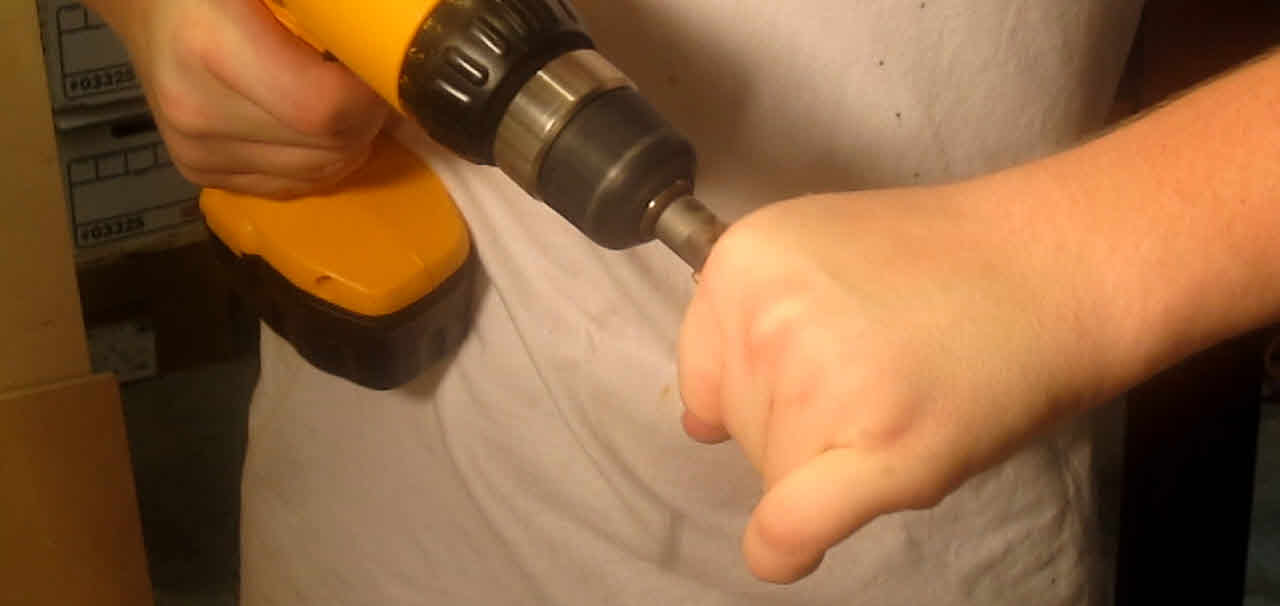
The walnut wood blank is now mounted on a lathe and the center of the blank is drilled out to accomodate a metal insert. |
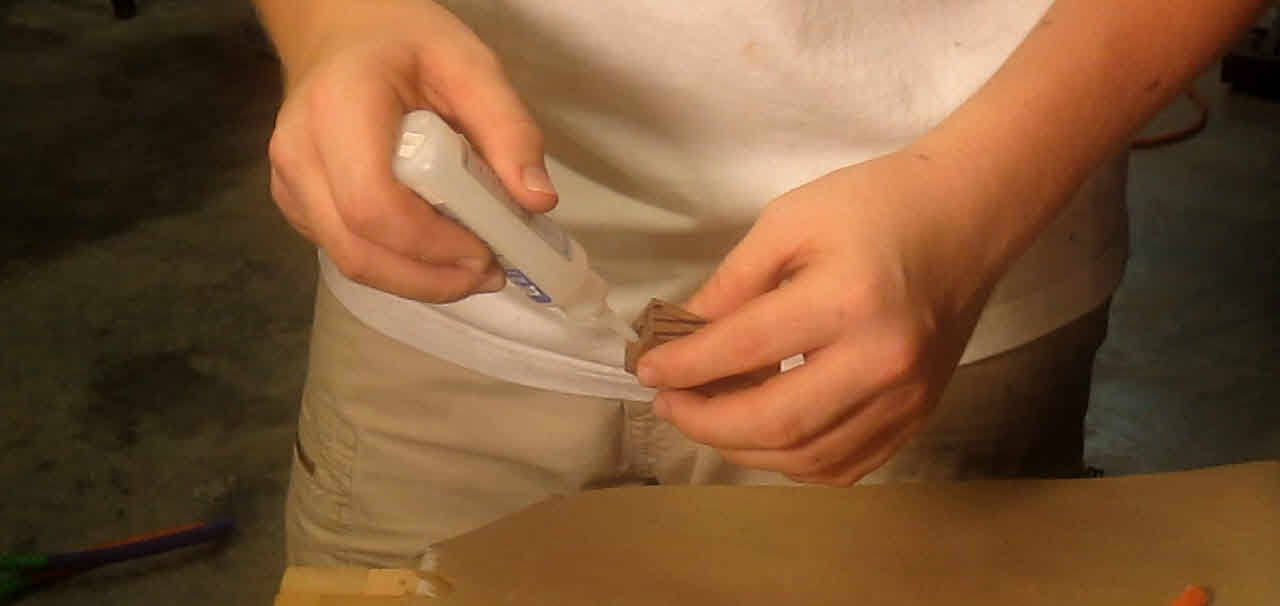
Glue or epoxy is used to secure the metal tube in the wood blank. The metal must be roughed up with sand paper prior to gluing. |
||
|
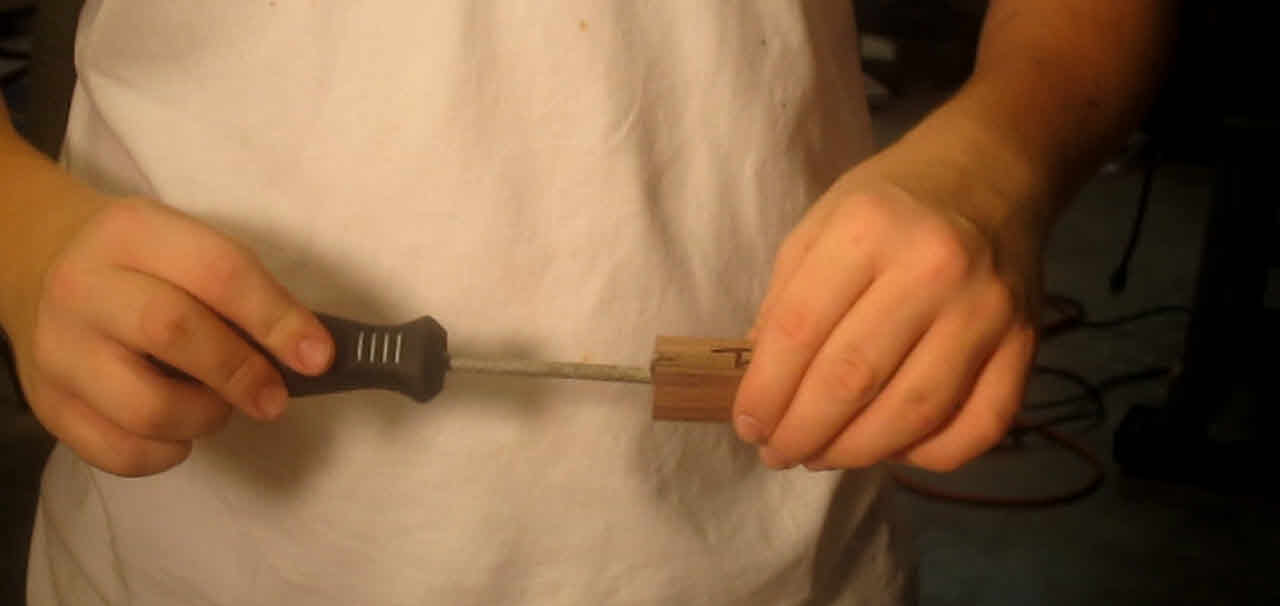
After inserting the metal tubes, you must clean up the inside of the tubes to remove any adhesive residue. |
After the tubes have been secured, the ends of the blanks need to be made square to the tubes. This can be done either with a drill or via a sanding stations. |
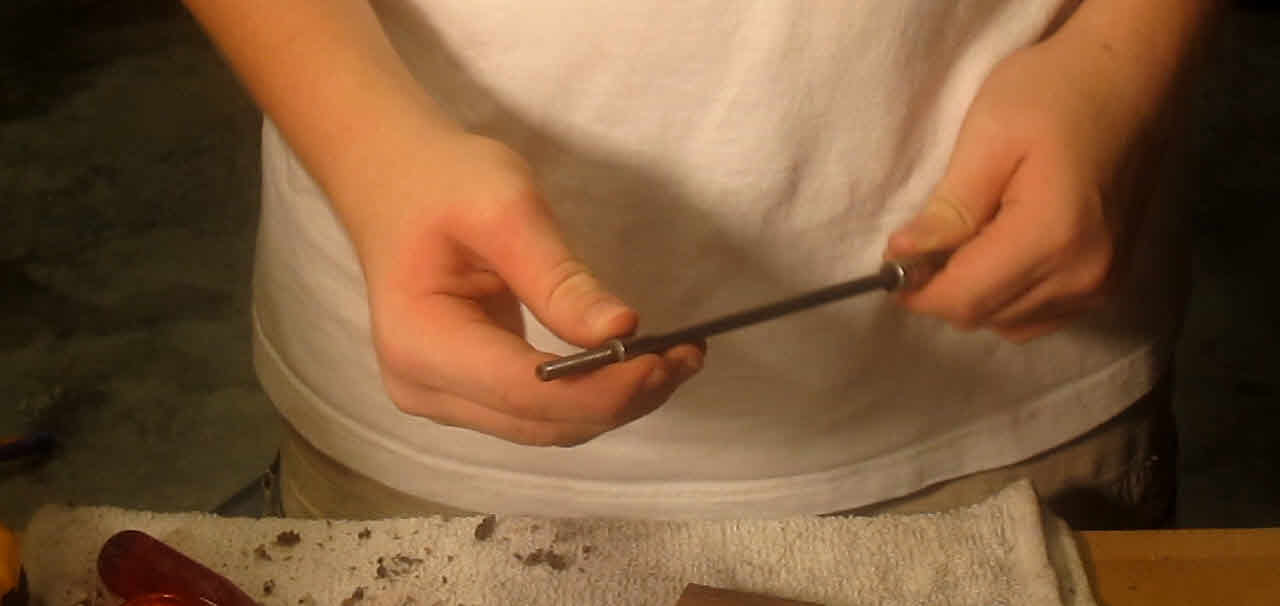
Once the tubes are inserted into the wooden blanks, the pen must be assembled on a mandrel prior to mounting on the lathe. |
||
|
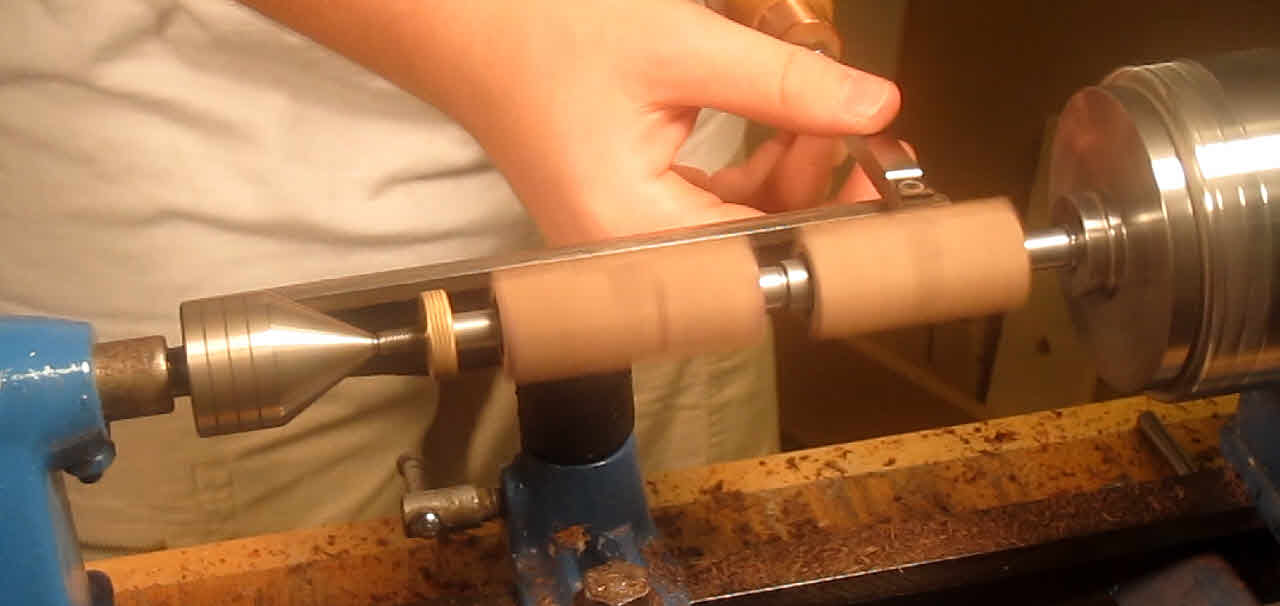
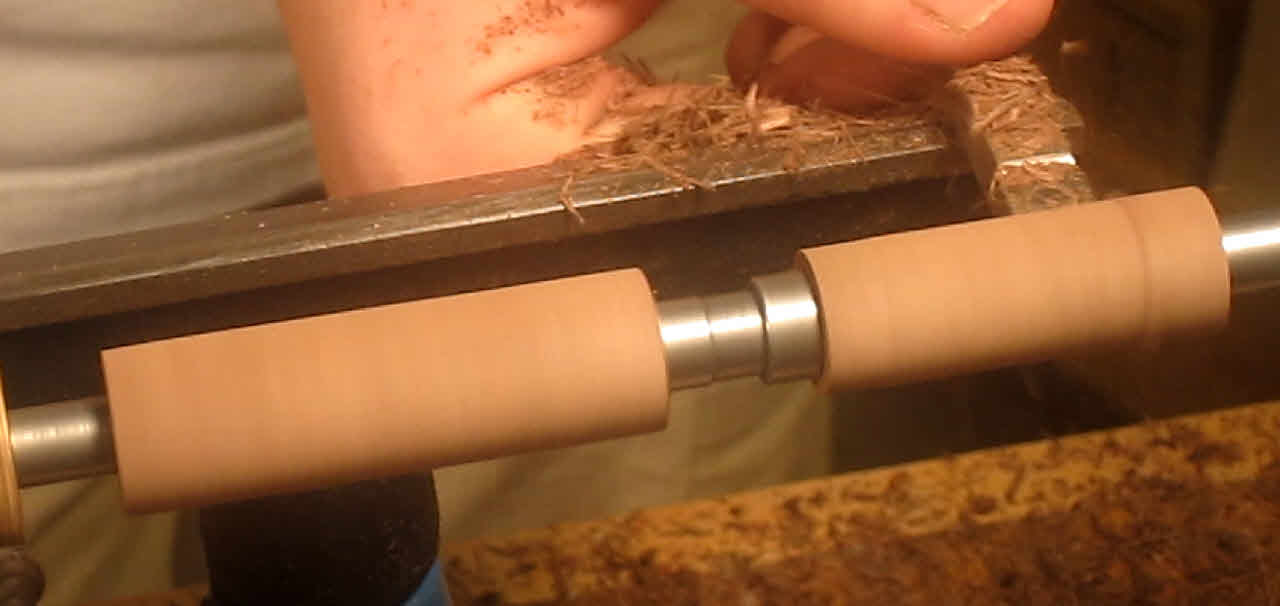
The pen blanks (mounted on the mandrel) can now be turned to their rough shape on the lathe. |
The Designer pens have a wooden tenon that need to be turned to a smaller diameter that the center band will slip over. |
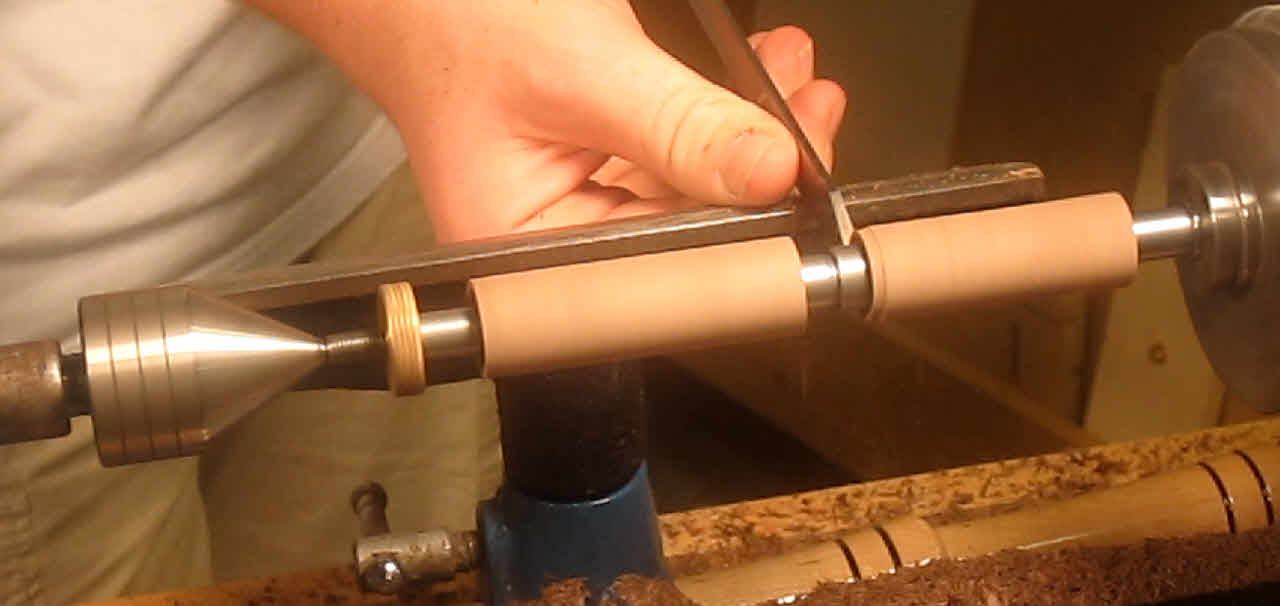
The final shaping of the pen is performed with a skew. Care must be taken to ensure that the diameter of the pen matches the diameter of the bushings. |
||
|
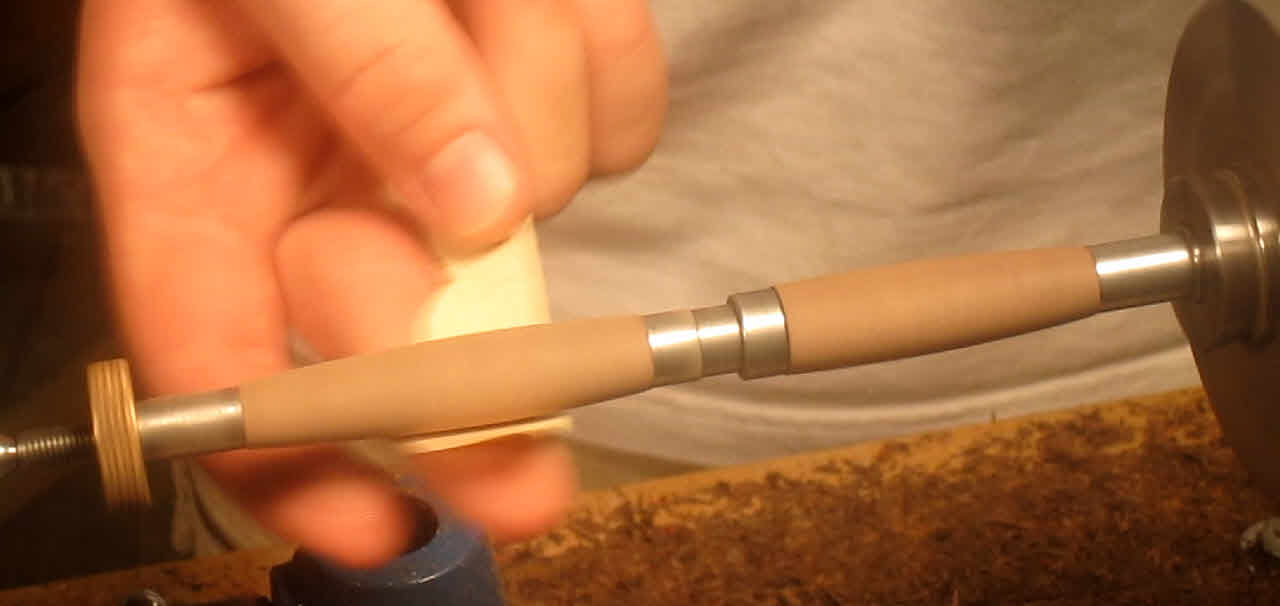
Once the final shape has been completed, the pen must then be sanded through a series of progressive grits. Typically, this means sanding with grits 180, 220, 320, 400, 600, 800, 1200 dry grits. |
For each grit of sandpaper, cross sanding must be perfomed. After sanding on the lathe with a speciific grit, the lathe is stopped and then sanding with the grain is performed to help remove sanding marks. |
After each cross-sanding task and between each successively finer grit of sanding paper, you must remove the saw dust / fine dust that the sanding process generates. |
||
|
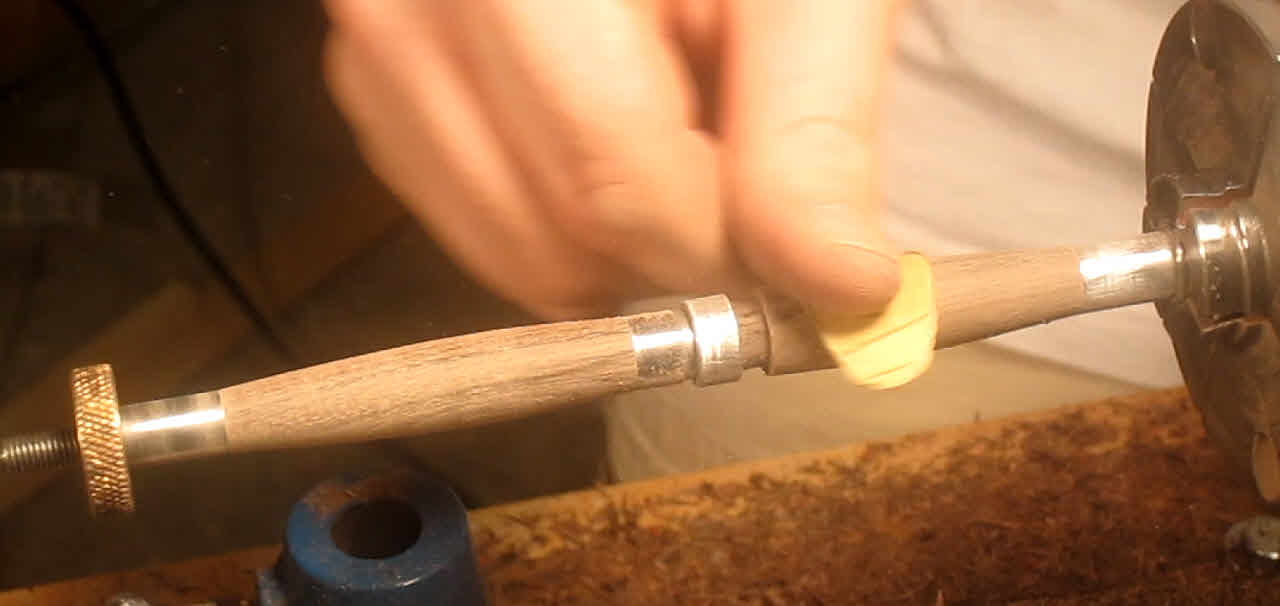
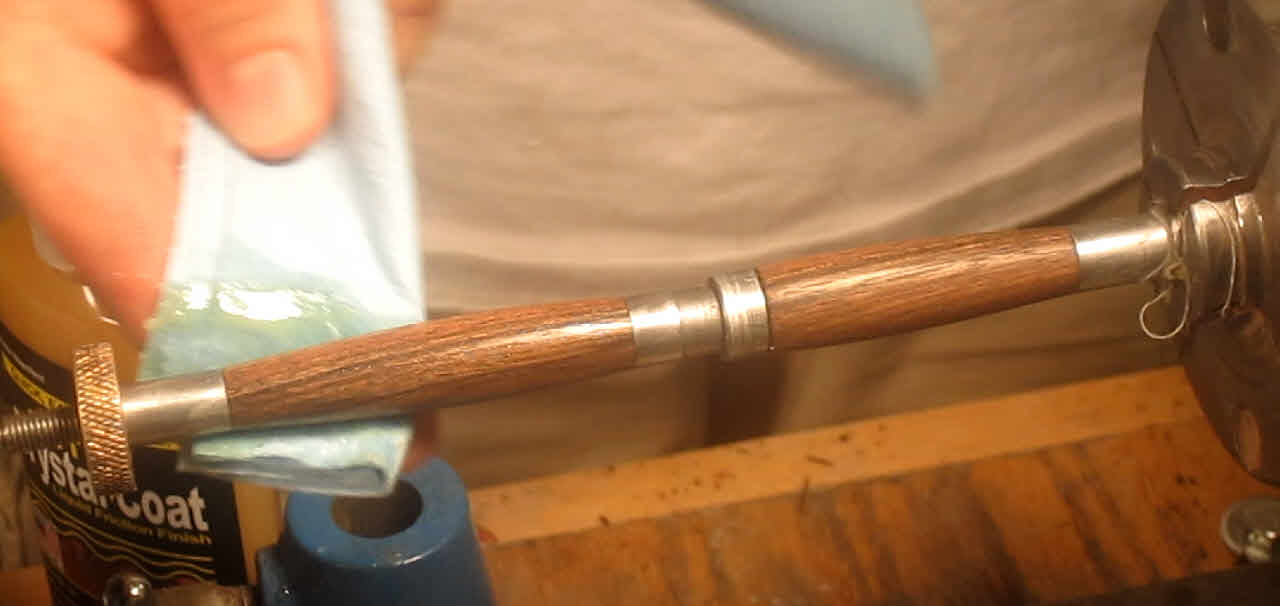
After the dust has been removed, a sanding sealer is applied to help fill in the pores of the wood. This helps subsequent sanding easier and helps to create a very smooth finish. |
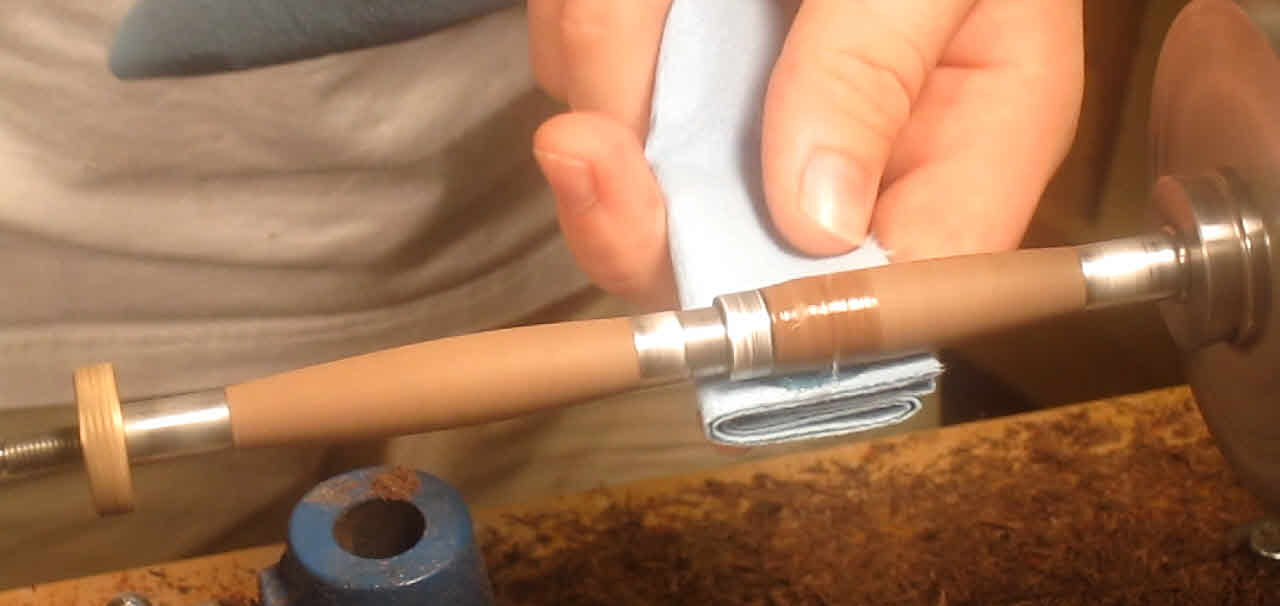
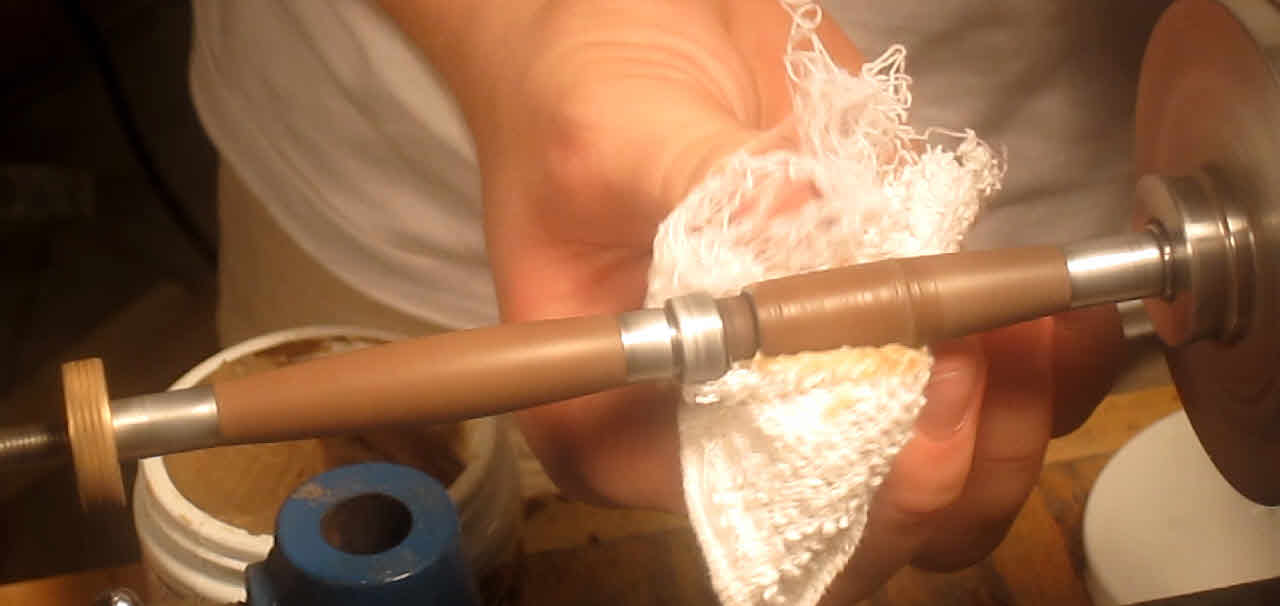
After the sanding through all the grits has been completed (180, 220, 320, 400, 600, 800, 1200), the final finish coats can be applied. |
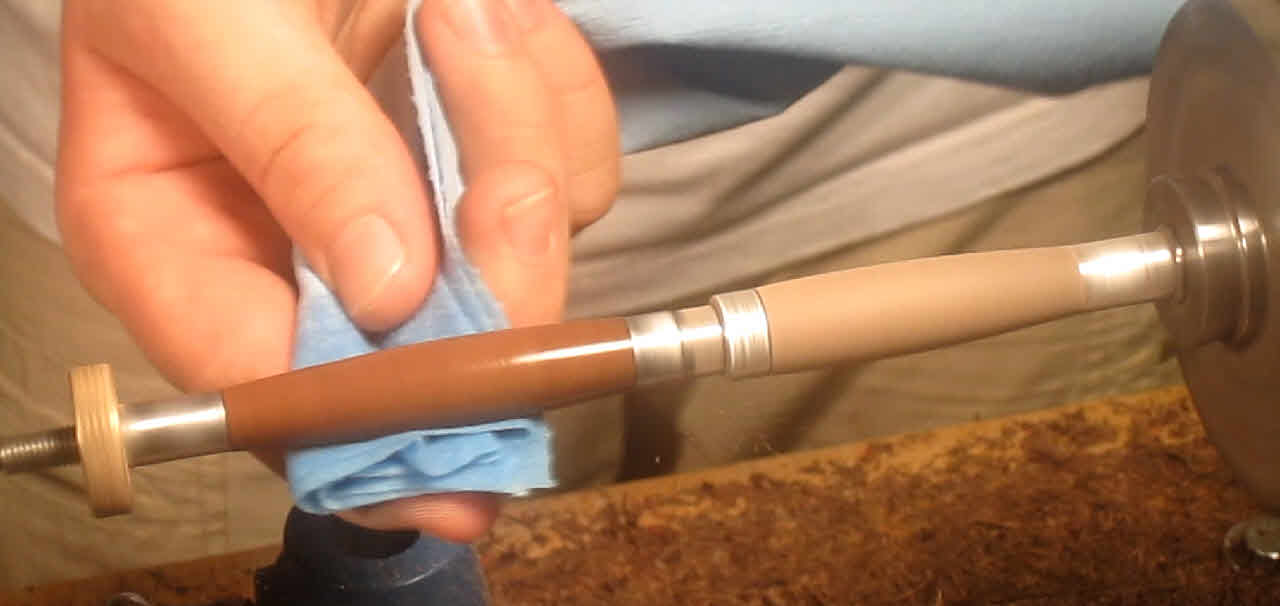
The last step in finishing the pen is in applying a liquid finish polish. The polish is applied to the pen while it is not turning. |

